Create and Fund Aptos Accounts
For testing purposes, you will want to create an Aptos account and fund it with testnet tokens. Much of this can be accomplished in the wallet of your choice. We use the Petra Wallet here in combination with the Aptos CLI to show you how they work together.
This document accompanies the command line instructions for the Aptos CLI on creating and funding accounts, focusing upon the testnet network and leveraging a graphical wallet rather than the CLI.
Prerequisites
You will need these installed to proceed:
- The wallet of your choice; we use the Petra Wallet Chrome extension.
- Aptos CLI
Create an Aptos account
First, understand you can use your private key straight from the wallet and not have to import it from the CLI.
Note that you may create specific account types by passing the --profile argument and a unique name to aptos-init for special assignments later. Here we will create a default (typical) account.
Create the account on Aptos testnet to receive the NFT by running the following command and selecting
testnet:aptos initReceive the output:
Configuring for profile defaultWhen prompted for a network:
Choose network from [devnet, testnet, mainnet, local, custom | defaults to devnet]Select
testnetby entering it and hitting return. You may instead selectdevnetand get funds through the Aptos CLI later.When prompted for your private key:
Enter your private key as a hex literal (0x...) [Current: None | No input: Generate new key (or keep one if present)]Hit enter to generate a new key.
Receive output indicating success and resembling:
No key given, generating key...
Account a233bf7be2b93f1e532f8ea88c49e0c70a873d082890b6d9685f89b5e40d50c2 does not exist, you will need to create and fund the account through a community faucet e.g. https://aptoslabs.com/testnet-faucet, or by transferring funds from another account

---
Aptos CLI is now set up for account a233bf7be2b93f1e532f8ea88c49e0c70a873d082890b6d9685f89b5e40d50c2 as profile default!  Run `aptos --help` for more information about commands
{
  "Result": "Success"
}
Note your configuration information can be found in
.aptos/config.yamlrelative to where you ranaptos init. Read that file to see each profile's private and public keys, account address, and REST API URL.
Import the account into the CLI
Here we will add the account to your wallet. We use the Petra Wallet Chrome extension here:
- Read
.aptos/config.yamlto see and copy thedefaultprivate key. - Open the wallet and select the Testnet network in the wallet via Petra settings > Network > Testnet.
- Go to Petra > Settings > Switch account > Add Account > Import private key.
- Paste the
defaultprivate key there. - Click Submit to add the previously created account to the wallet.
- You are switched into that account automatically.
Get coins from the faucet
- Go to the Petra > Settings > Network > Testnet network if not there already.
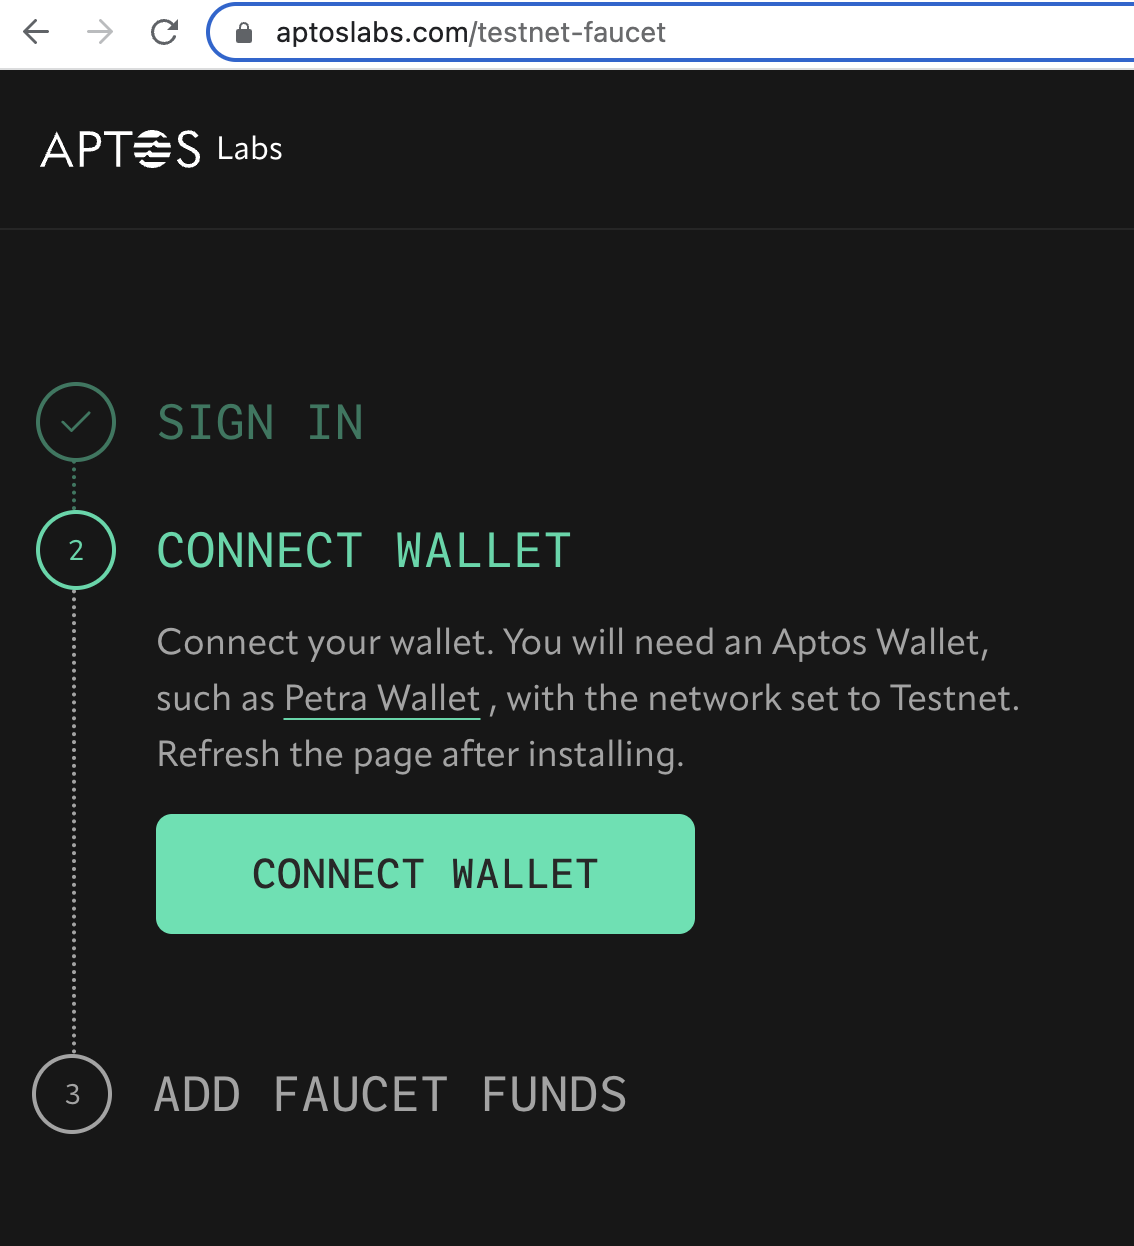
- Connect your wallet to the Aptos faucet at https://aptoslabs.com/testnet-faucet:

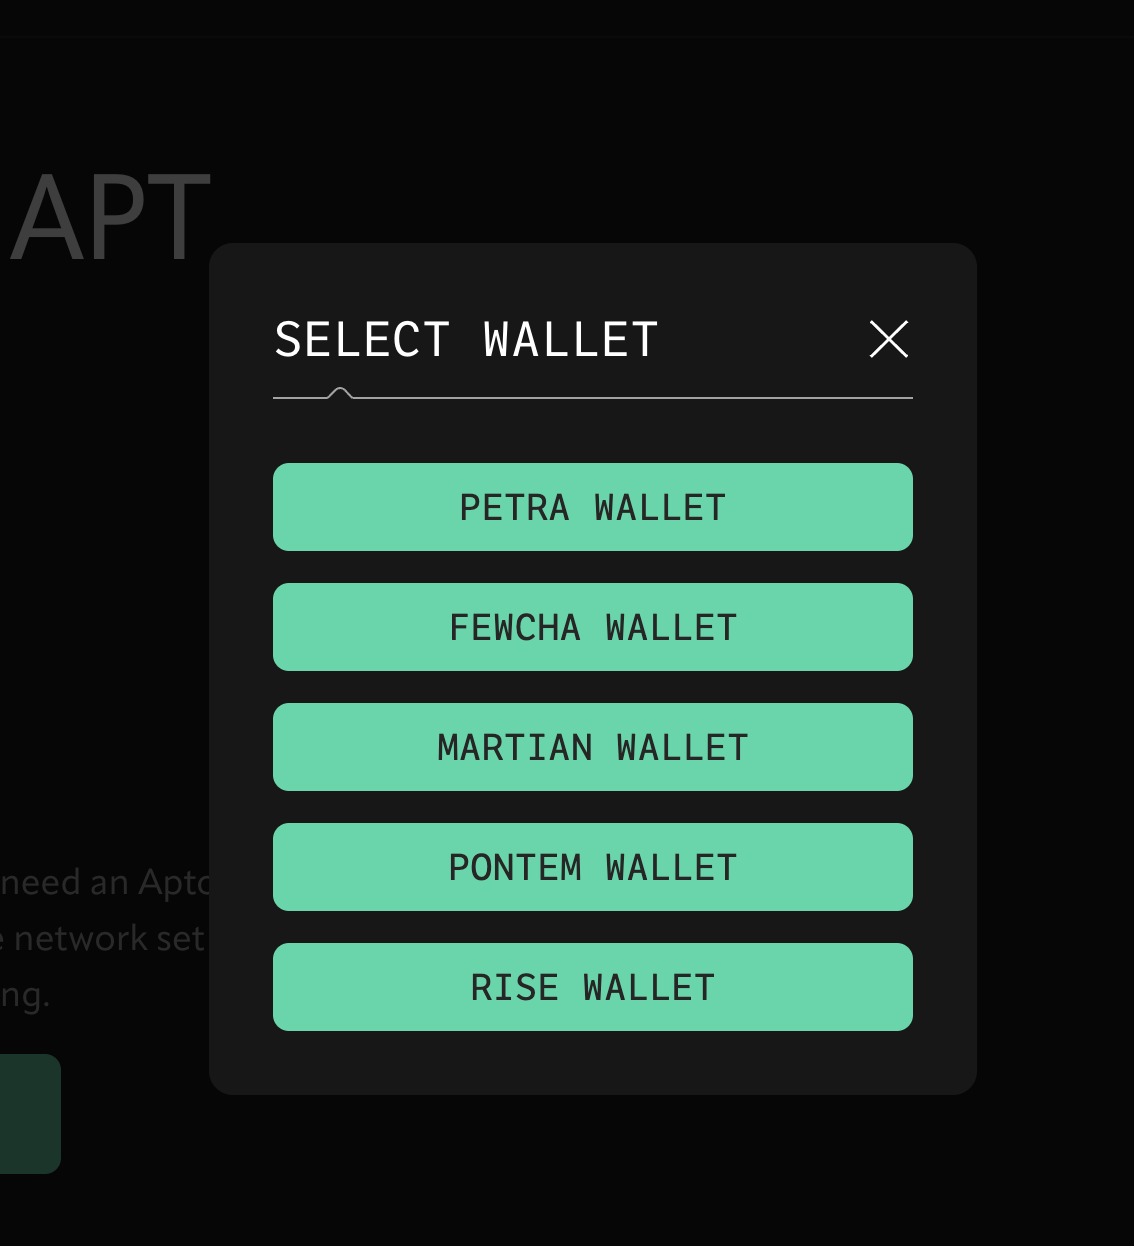
- Select your wallet type:

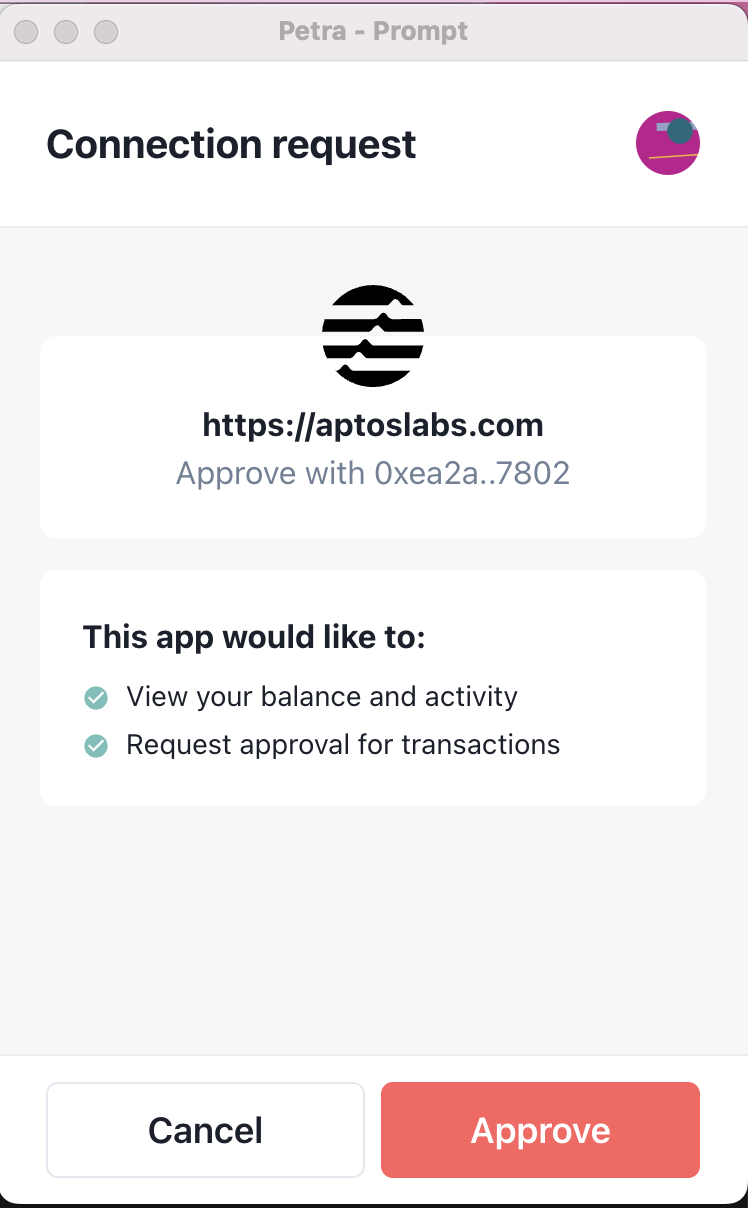
- Approve the connection request:

- Now when you load your wallet, you will see a Faucet button next to Send. Click Faucet to receive one APT per click to use when minting.